How to properly sharpen Santoku and any other knife using a water sharpener/Japanese whetstone?

I've recently bought a really nice Santoku knife from Wüsthof along with a Japanese water sharpener, and since then I've been watching a lot of videos and reading a lot of guides about how to use the sharpener. I've come upon many various ways to do it, but I never know if one is "right" or better than the other to get things started. I've never sharpened a blade before, and I've never really taken good care of the knifes I already own, so I thought now is a good time to start with it.
What I do know is that for Japanese knives, I use a 15 degree angle, and for European knives, it's usually about 22-23 degrees. I also know how to properly prepare the whetstone for use. What I do not know is: how do I do the actual sharpening properly?
Some people I've seen slice the knife over the stone diagonally at the correct angle, while only taking care of one part of the knife (the front, the middle, the back) and move on to the next after a while, while others straight out do everything at once, sharpening the whole blade in one motion, alternating between one side of the blade and the other.
Now my real question is: What kind of technique should I apply as a total beginner, and can I use that technique for both the Japanese and European knives I have (excluding the angle at which the blade is put onto the stone which I know of)?
Also, how often should I sharpen these blades usually to keep them in a decent shape? I have the typical 1000/3000 whetstone.
Best Answer
How often you sharpen depends on how often you use them and the type of steel. I use Globals and Mundials and the Globals require much less sharpening Mundials.
Here's a video from Chefs Armoury https://www.youtube.com/watch?v=0TPDgdo7jfM
1. Prep your stones
Depending on what stones you use, you may need to soak or not. I use the Naniwa stones that just need to be wet and don't require soaking. I keep a spray bottle for this. I use 400, 1000 and 3000 stones.
2. Make sure your stone is flat
You want a flat stone so that the angle between your knife and stone is stye same along the entire length of the stone. If your stone has a curve in it, get it flattened first. If there is a noticeable curve, ask a professional to flatten it. After this, maintaining a flat stone is easy.
3. Decide your angle
Usually 15-20 degrees. I find the Japanese knives are usually at around 15 degrees and European knives are around 20 degrees based on a bit of trial and error. You'll know if your angle is too low since you won't make progress after a few strokes.
4. Holding the knife & stroke
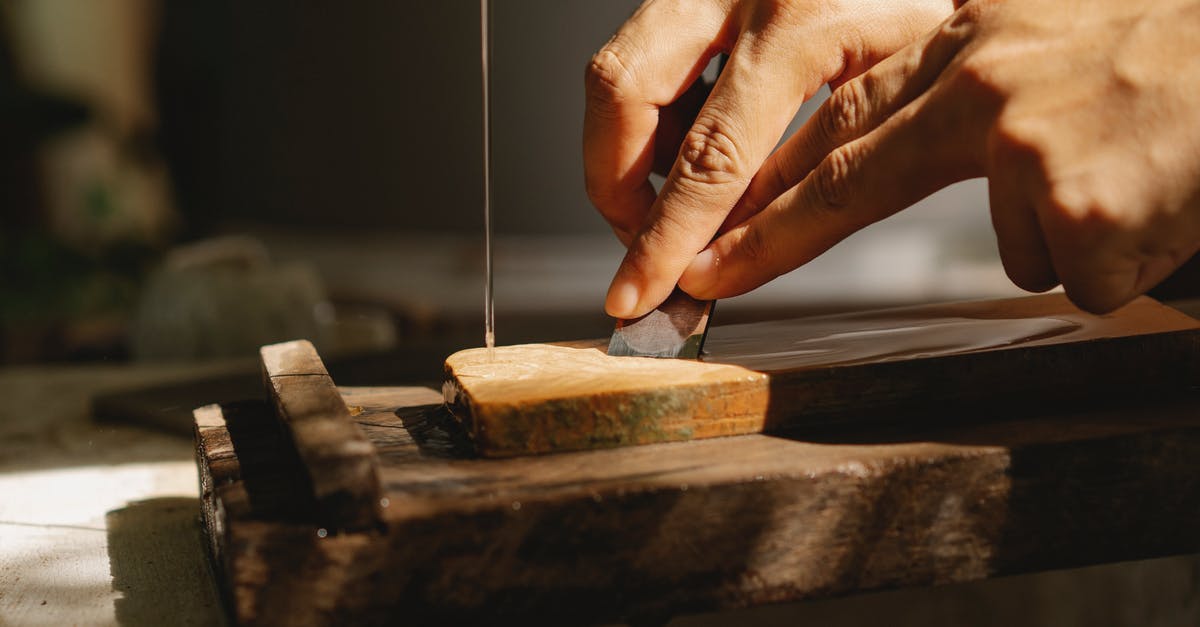
One hand on the handle (of course) holding the knife at the desired angle. The other hand, fingers on the flat of the blade. Wrists straight. The sharpening stroke is when the knife moves away from the edge.
So if the edge is facing towards you, push into blade as you push your blade away but release the pressure as you pull the blade towards you.
If the blade is facing away from you, push into the blade as you pull towards you and release as you push away.
Make sure you maintain the same angle on both strokes and always use the entire length of the the stone. If you only use part of the stone, that area wears away more quickly and you can't be sure of the angle.
5. Sharpening
Start with the coarsest stone. Pick a side, say edge facing towards you. I start at the tip of my knives. The tip is usually curved, so your hand position changes slightly. After a few strokes, move down the edge and take a few stokes. Keep doing this until you have done the entire edge applying water as needed.
Now pick up the knife. On the side that is not being sharpened, run a thumb or finger across the flat of knife from the spine to the edge. On the edge, you should feel a burr. When you can feel the burr along the entire length of the edge, that side is done, otherwise it needs more work. Now sharpen the other side until you can feel the burr on the other side. We'll address a complete lack of burr later.
 _  <- Burr
  \
  /\
 /  \
 |  | Just sharpened side
 |  |
Once you have done both sides, go up to your next stone and repeat.
As the stones get finer, the size of the burr gets smaller and harder to feel. On a 3000 stone, it gets very fine. If you cannot feel it, wash the blade of any material that you removed. This can sometimes help you feel the burr. I also find that dry hands work better than wet hands when trying to detect the burr.
6. Finishing
When you get to your final stone and have done both sides, you need to remove the burr. Just hold the knife at the same angle as you've been using with the burr side in contact with the stone, and pull the edge of your knife across it to remove the burr.
You can also strop your blade, but it is not necessary.
7. Reflatten your stone
You can do this with a special flattening stone, or a bit of very fine sandpaper. I wet some 600 grit sand paper and put it on my bench (flattest surface in my home). Then sand the stone down. It only needs a few strokes if you do this regularly.
Don't feel a burr trouble shooting
If you have been working at if for a while and cannot feel the burr here are a couple of suggestions.
Wrong angle
Your angle may be too low. Increase the angle slightly and try again. On a coarse stone, you should be able to feel the burr after only a few strokes.
Knife is too blunt
Detecting the burr only works if the knife is close to being sharp. If it is too blunt, you need to remove a lot of material before you are close to a sharp edge again. Don't do this. If you do, you'll end up with an asymmetrical edge.
  _
 / \                                      /\
/   \  Keep working one side and you get /  \
|   |                                    |   \
Instead, give a few strokes across the entire length of one side. Flip it over and do the other side. Make sure you do a similar amount of work so that the edge is symmetrical. The idea is to try and meet in the middle. Check after working each side and eventually you will get a burr.
Pictures about "How to properly sharpen Santoku and any other knife using a water sharpener/Japanese whetstone?"


How do you sharpen a Santoku knife with a whetstone?
In general, Santoku knives can be sharpened to an approximate angle of 10 \u2013 15 degrees. Santoku knives are generally easier to sharpen as they do not have a bolster. Single-bevel Santoku's also require less sharpening work as opposed to double. The most effective way to sharpen a Santoku is to use a whetstone.Can you use a knife sharpener on a Santoku knife?
Never leave Japanese water stones in water for any length of time. Soak your sharpening stone in water before you use it \u2013 five minutes is usually enough, ten minutes is acceptable for coarse stones. For sharpening, rest the stone on a non-slip base or wedge it firmly between two pieces of wood.How to Sharpen a Knife with a Japanese Master Sharpener
More answers regarding how to properly sharpen Santoku and any other knife using a water sharpener/Japanese whetstone?
Answer 2
The user "virtuovice" has some great videos on knife sharpening. It was my introduction to whetstone sharpening and since following his videos, I have been able to sharpen my range of kitchen knives to a pretty incredible sharpness. His videos are mainly aimed at hunting knives, but the techniques can be applied to kitchen knives
Have a look at this video: https://www.youtube.com/watch?v=tc_TEWmMcD0
The main thing to try and remember is to move with your arms and not to rotate your wrists at the ends of each stroke across the stone so that the angle is kept constant. I'd practice on some cheap knives and just go slowly first. Look at how much metal is being removed from the blade - rinse the knife often and check your progress. Imagine you are trying to take a very fine slice of stone off the top surface.
In terms of technique, you can also take a look at this video:
https://www.youtube.com/watch?v=Lm53mCOQTR8
It's easier to see because of the high grind on the blade.
Answer 3
If it is a Wusthof with the "Petec" branded edge (all recent ones), the original angle will be specified as either 14 or 10 degrees/side - BUT that might not be what you want. Steel wise, these are still european knives (albeit on the harder side if we are talking the upmarket series), try out and test 14 to 20 degree edges, with and without microbevels.
True japanese knives (the double bevelled type, not the traditionals), by the way, will commonly come with a factory edge of 14 or 12 degrees/side, but the steel used is harder than what any big european maker uses (with the exception of one Zwilling series).
Sources: Stack Exchange - This article follows the attribution requirements of Stack Exchange and is licensed under CC BY-SA 3.0.
Images: Himesh Mehta, Sebastian Coman Photography, Ono Kosuki, Raghav Modi
